
Getting Started
This guide has two parts. Part A gets a fresh Guren app running in about five minutes with SQLite: no Docker, no database server. Part B covers the full setup: Postgres or MySQL, environment variables, feature generators, and production builds. Start with Part A; come back to Part B when you need it.
Getting Started
This guide has two parts. Part A gets a fresh Guren app running in about five minutes with SQLite: no Docker, no database server. Part B covers the full setup: Postgres or MySQL, environment variables, feature generators, and production builds. Start with Part A; come back to Part B when you need it.
The instructions target macOS and Linux, and also work on Windows with WSL2.
note
If any term is unfamiliar, see the Glossary.
Part A: Quickstart (SQLite — no Docker)
Prerequisites
- Bun 1.4.4: that is all.
curl -fsSL https://bun.sh/install | bash1. Scaffold a project
bunx create-guren-app my-app
cd my-app
The scaffolder walks you through a few choices, and the defaults are right for getting started:
- Rendering mode: SSR (default) or SPA. SSR gives you server-rendered HTML with automatic Vite asset discovery.
- Database: SQLite (default, zero-config), PostgreSQL, or MySQL.
- AI agents: which coding agents to set up the agent harness for: Claude Code (default), Codex, Cursor, GitHub Copilot, OpenCode.
It then installs dependencies and creates a .env file with a generated APP_KEY for you. Flags answer the prompts non-interactively (--mode ssr, --db sqlite, --agents codex,cursor), and --auth includes authentication scaffolding from the start.
To build the command from your choices instead, use the start page. It also writes a first prompt for your coding agent.
2. Start the dev server
bun run devThis regenerates the typed route/page manifests (codegen) and boots the server. Open http://localhost:3333.
3. What you should see
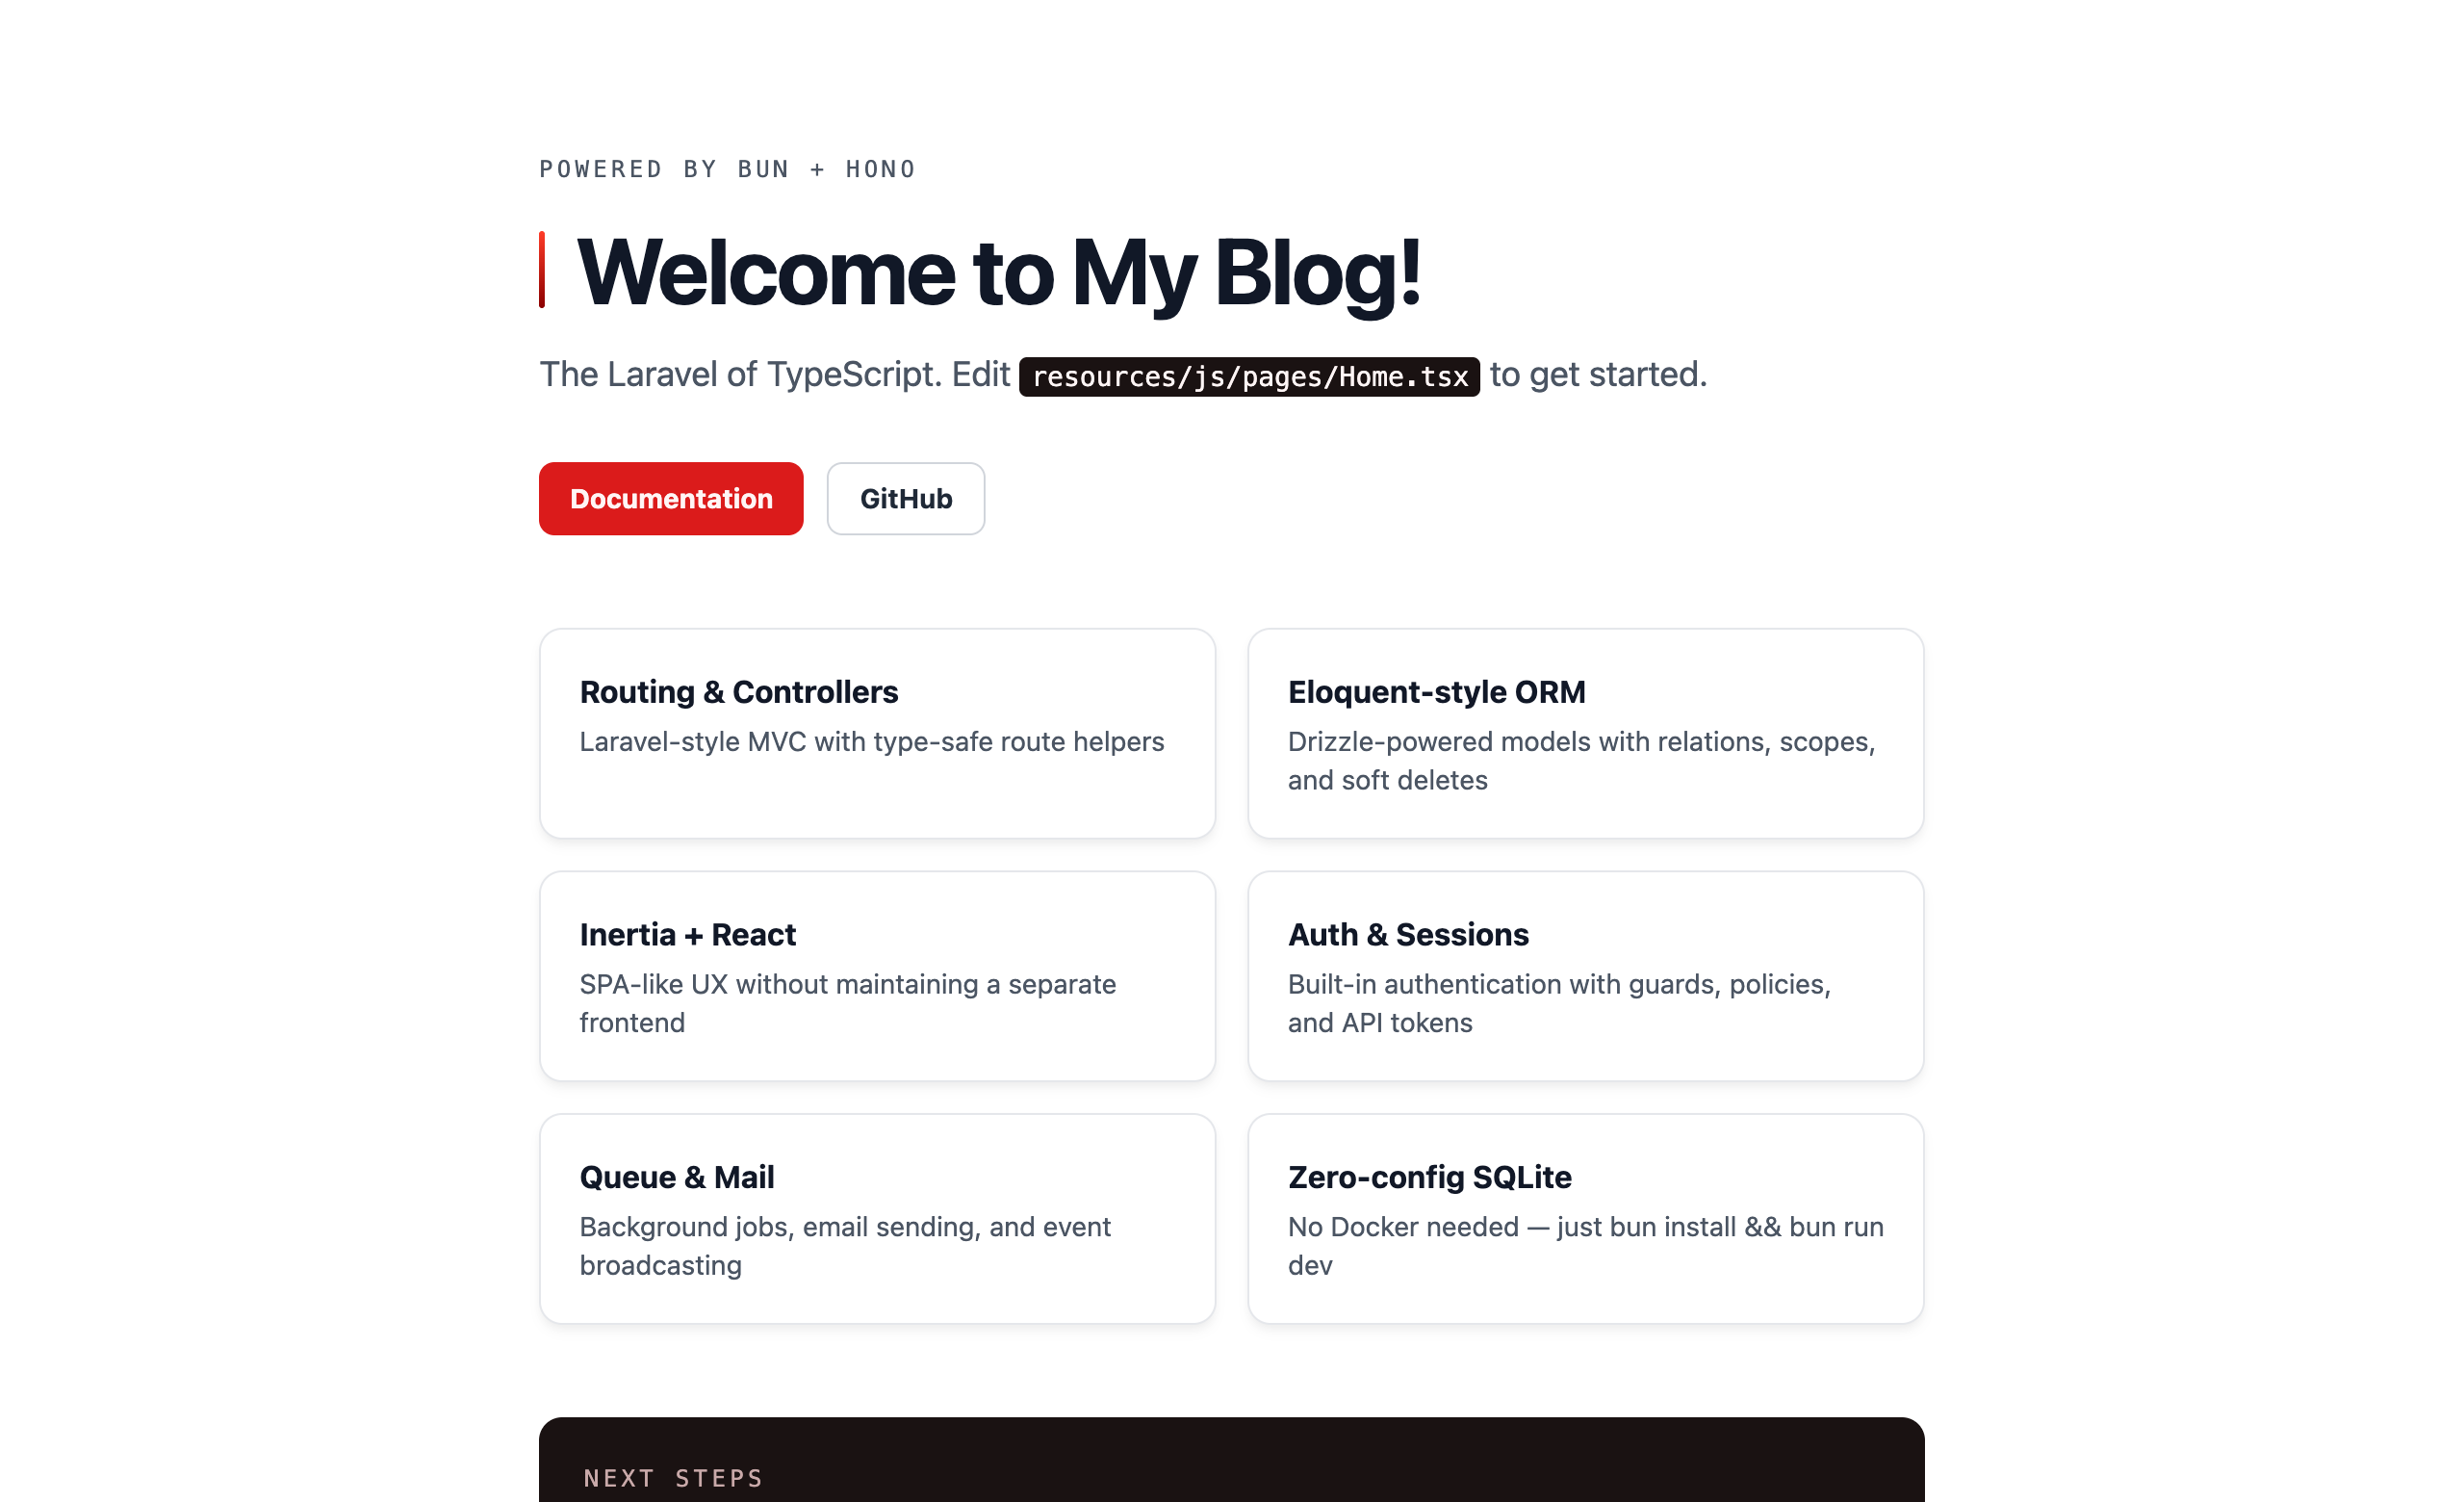
A crimson ASCII banner in the terminal with the Guren version and URLs, and the welcome page in your browser. The SQLite database file is created on demand at ./data/guren.db. The fresh app defines no tables yet, so there is nothing to migrate before your first run.
ok
The dev server spawns Vite automatically for frontend assets, so edits to your React pages appear instantly. Backend changes (controllers, routes, models) are picked up too, without a restart, since the dev server runs under bun --hot. Set GUREN_DEV_VITE=0 to run Vite yourself, or GUREN_DEV_BANNER=0 to silence the banner in scripts.
4. Explore the project knowledge graph
Keep the dev server running and open http://localhost:3333/_guren/docs. A fresh app includes a seed architecture decision under docs/adr/; the Docs Graph renders it as a document node and will add entity, code-path, and generated-spec relations as your project grows. Click a document to read its frontmatter, trust information, link verdicts, and Markdown body.
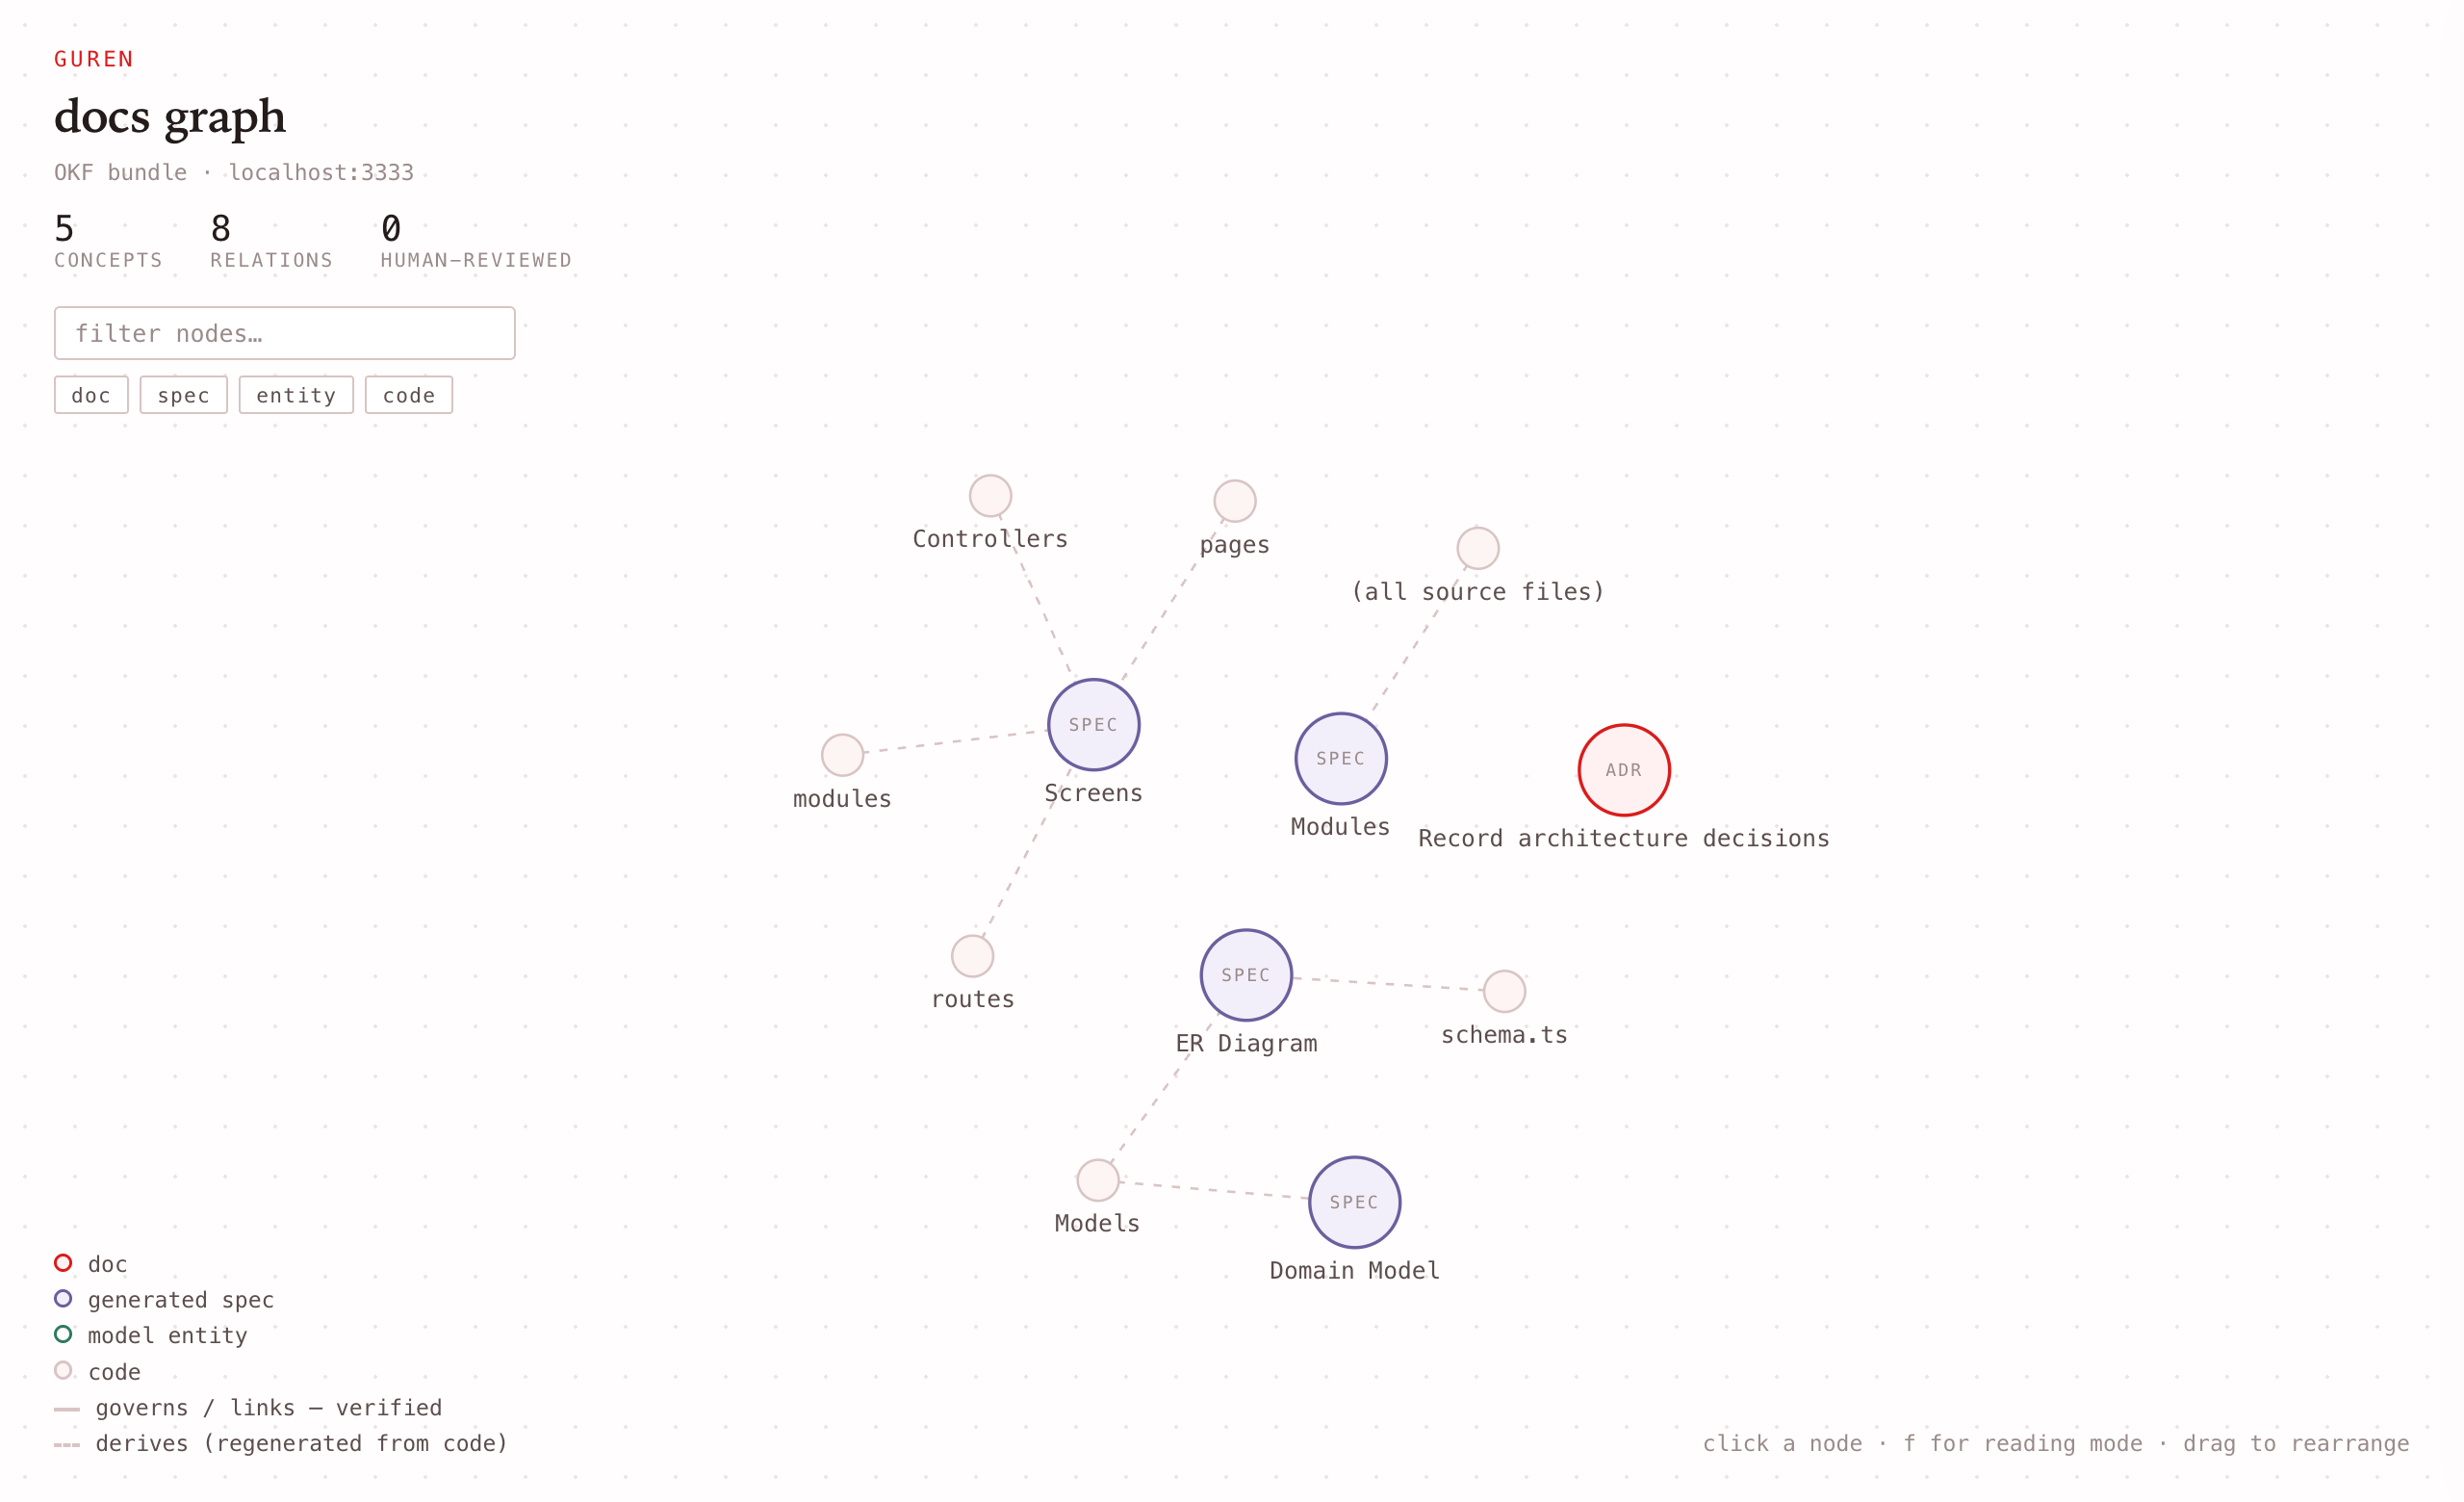
The viewer is read-only, enabled by GUREN_DOCS=1 in the scaffold's dev script, restricted to your local machine, and never mounted in production. The default full-stack scaffold includes Mermaid for generated diagrams; without it, diagram source remains readable as a code block. The Spec-Anchored Development guide explains how to generate spec views and connect decisions to code.
Add your first feature
You have a running app — now build something with it. The Guren Tutorial is the recommended next step: a fourteen-chapter course that turns it into a blog, and hands one slice of every chapter to a coding agent.
Part B: Full Setup
Everything below is optional for your first session, but you will want it as your app grows.
Use PostgreSQL or MySQL
Pass --db postgres (or --db mysql) when scaffolding, or pick it at the prompt. The scaffolder then writes a docker-compose.yml for the matching database and points DATABASE_URL at it. With Docker Desktop (Compose v2) installed, start the database with:
bun run db:upDefault connection strings:
- PostgreSQL:
postgres://guren:guren@localhost:54322/guren - MySQL:
mysql://guren:guren@localhost:33306/guren
Stop the container with bun run db:down when you are done.
ok
Already running Postgres locally or in the cloud? Skip Docker entirely and point DATABASE_URL at that instance, and the rest of the guide works unchanged. An existing SQLite app can switch later by updating config/database.ts; see the Database Guide.
Environment variables
The scaffolder creates .env from .env.example and fills in a fresh APP_KEY. config/env.ts declares every variable the app reads and validates them at boot; the Configuration Guide covers it. Key settings:
APP_URL: Base URL reported to Inertia (defaulthttp://localhost:3333).DATABASE_URL: Connection string (a file path for SQLite, a URL for Postgres/MySQL).PORT: HTTP port for the dev server (default3333).CACHE_STORE,QUEUE_CONNECTION,MAIL_MAILER: added byguren add cache/guren add queue/guren add mail, and read by theconfig/cache.ts,config/queue.tsandconfig/mail.tsthey write. Each value has to name a store that file declares: an unknownCACHE_STORE,QUEUE_CONNECTIONorMAIL_MAILERfails the boot.SESSION_DRIVERappears onceguren add auth(orguren add session) writesconfig/session.ts, which reads it; until then sessions live in process memory.
never
Keep .env out of version control. If credentials leak in a commit, rotate the database user and regenerate any API keys referenced in the file.
Add authentication and resources
Guren ships with generators that scaffold whole features:
bunx guren add auth
bunx guren add resource posts --fields "title:string,body:text,published:boolean"
add auth sets up registration, login, logout, and session middleware. add resource creates a model, migration, controller, validator, resource, and Inertia pages for the given fields. Run bunx guren add --help for all available generators (queue, mail, events, storage, and more).
Generate typed manifests
bun run codegenCodegen writes the typed route helpers and page manifest that power end-to-end type safety. bun run dev and bun run build run it automatically, so you only need it manually after adding or renaming routes and pages while the server is stopped.
Run migrations and seed data
Once you have added resources (and therefore migrations), apply the schema and populate sample data:
bun run db:migrate && bun run db:seedThis works the same for SQLite, Postgres, and MySQL: migrations come from your Drizzle schema in db/schema.ts.
Typecheck and test
bun run typecheckFix type errors as they appear: catching issues early is much easier than debugging a running app. As you add tests (see the Testing Guide), run them with bun test.
Production build
When you are ready to ship:
bun run build
bun run preview
build emits hashed client (and, in SSR mode, server) assets under public/assets/ plus the manifests the runtime reads. preview starts the production server locally so you can verify the build. See the Deployment Guide for hosting options.
Where to go next
- The Guren Tutorial: the recommended hands-on course for newcomers, a blog with users, authorization, relationships, uploads, mail and agent tools.
- First Steps: a ten-minute tour of how one request flows through the framework.
Then continue through the guides in this order:
- Architecture
- Routing Guide
- Controller Guide
- Database Guide
- Frontend Guide
- Authentication Guide
- Testing Guide
- Deployment Guide
Keep the CLI Reference handy along the way, and if you spot issues or have ideas, please open an issue or PR. Contributions are welcome.